
How to Fill an Ashes Jewellery
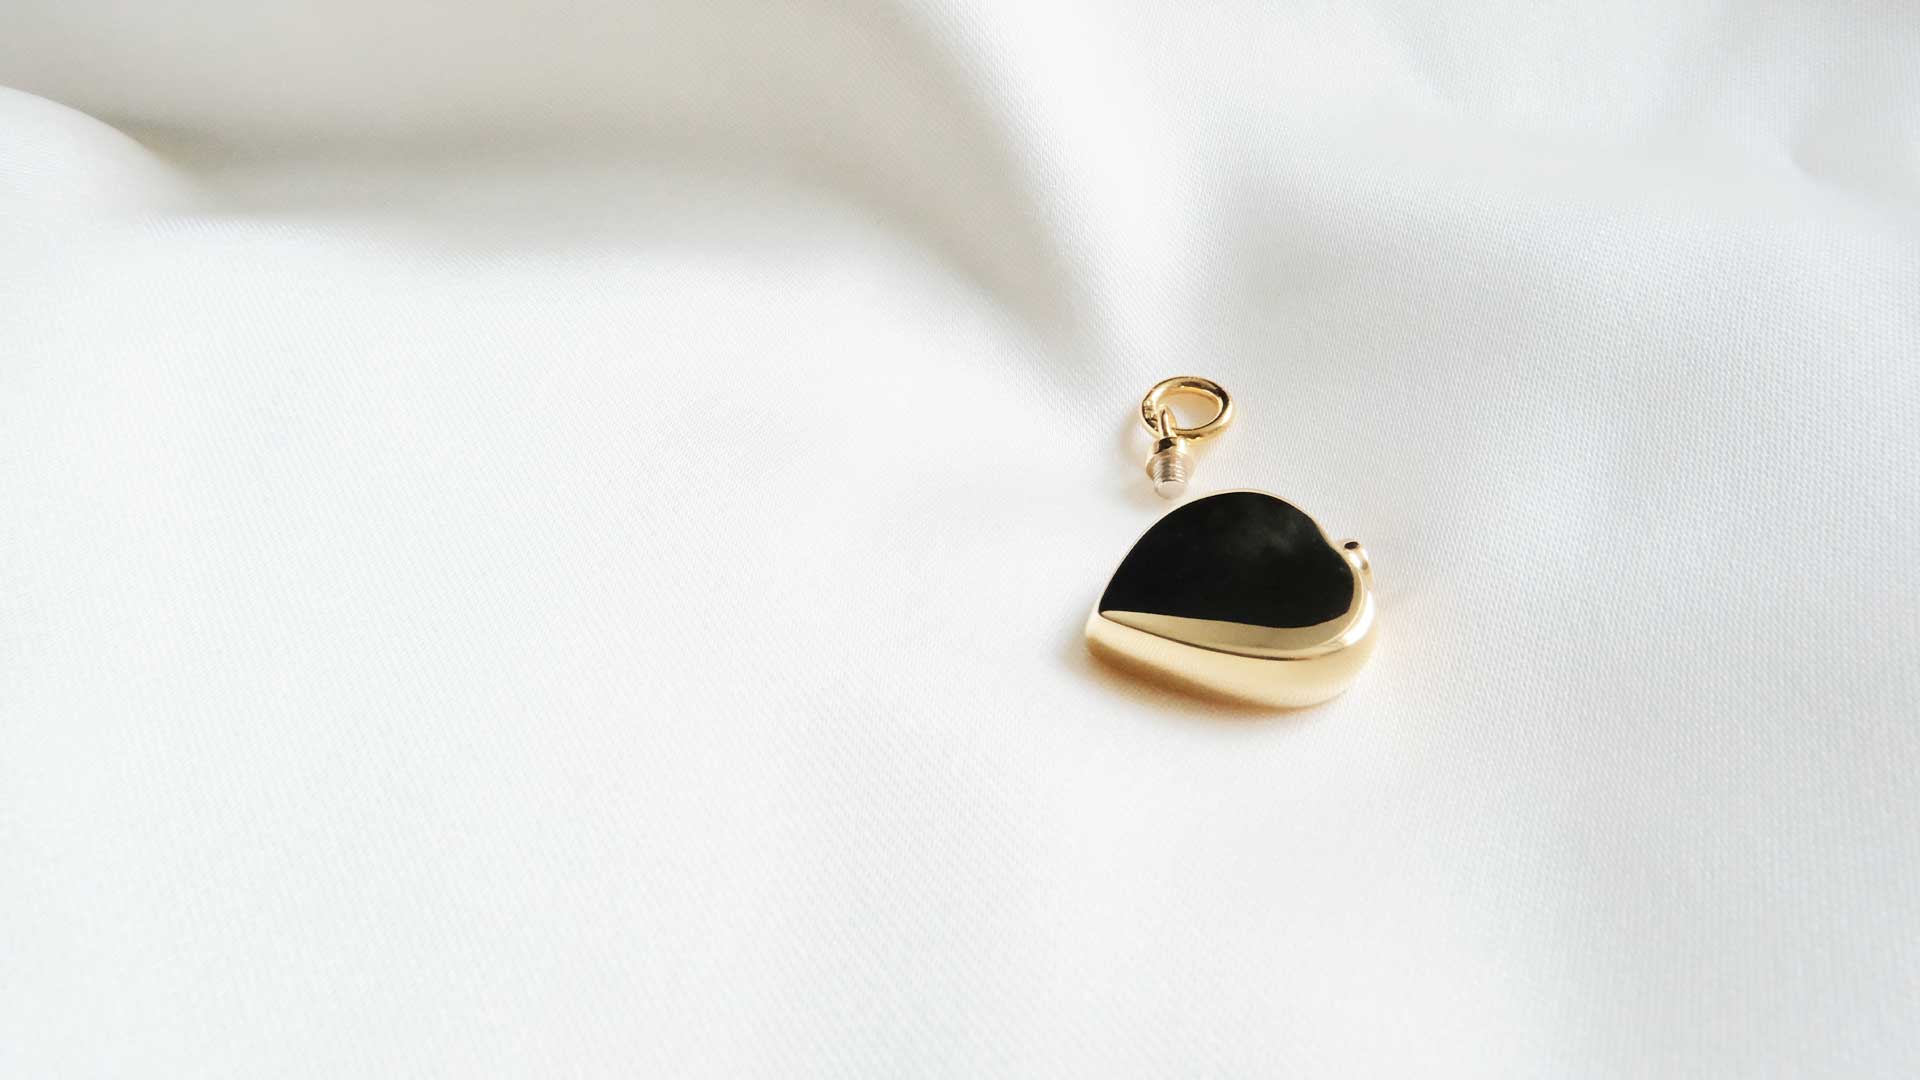
Step 1 Remove the Cap of Ashes Pendant
Unscrew the threaded cap, which is usually a discreet part of the ashes jewelry bail.
Alternatively, some pendants have a small screw on the side. You can remove it using the tiny screwdriver provided.
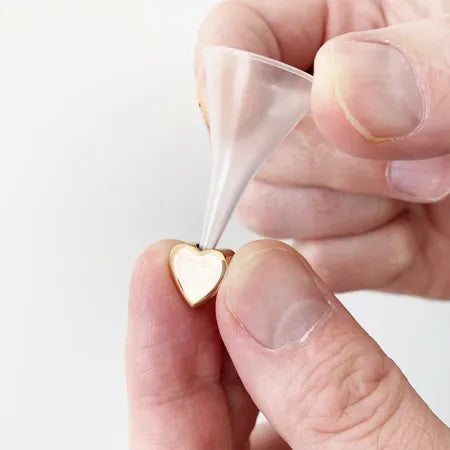
Step 2: Place the provided funnel securely at the opening of the ashes pendant.
Fill the ashes pendant carefully, leaving enough space to securely replace the threaded cap.
We recommend filling the pendant up to about 80%, rather than filling it completely to the top.
Make sure the pendant can be properly closed and sealed with the screw.
Step 3: Create a Permanent Seal on the Ashes Pendant
(Only proceed if you want to create a permanent seal.)
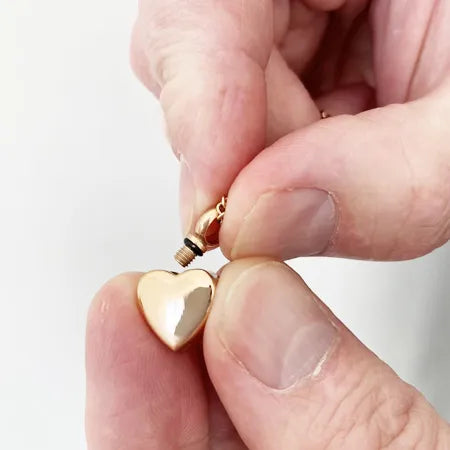
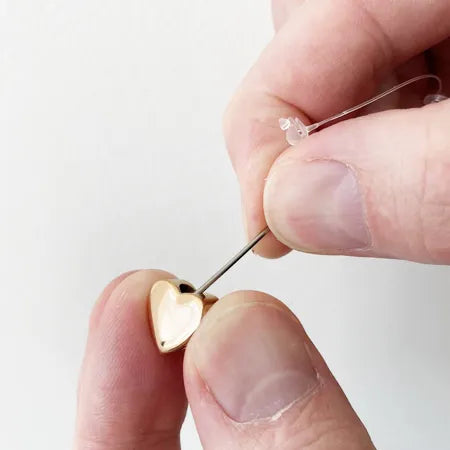
Begin screwing the threaded cap onto the ashes pendant, as shown on the right.
Apply a small amount of glue to the tip of the toothpick, then carefully spread it onto the threads.
Step 4. Secure the Ashes Pendant
Quickly thread the screw into the urn pendant.
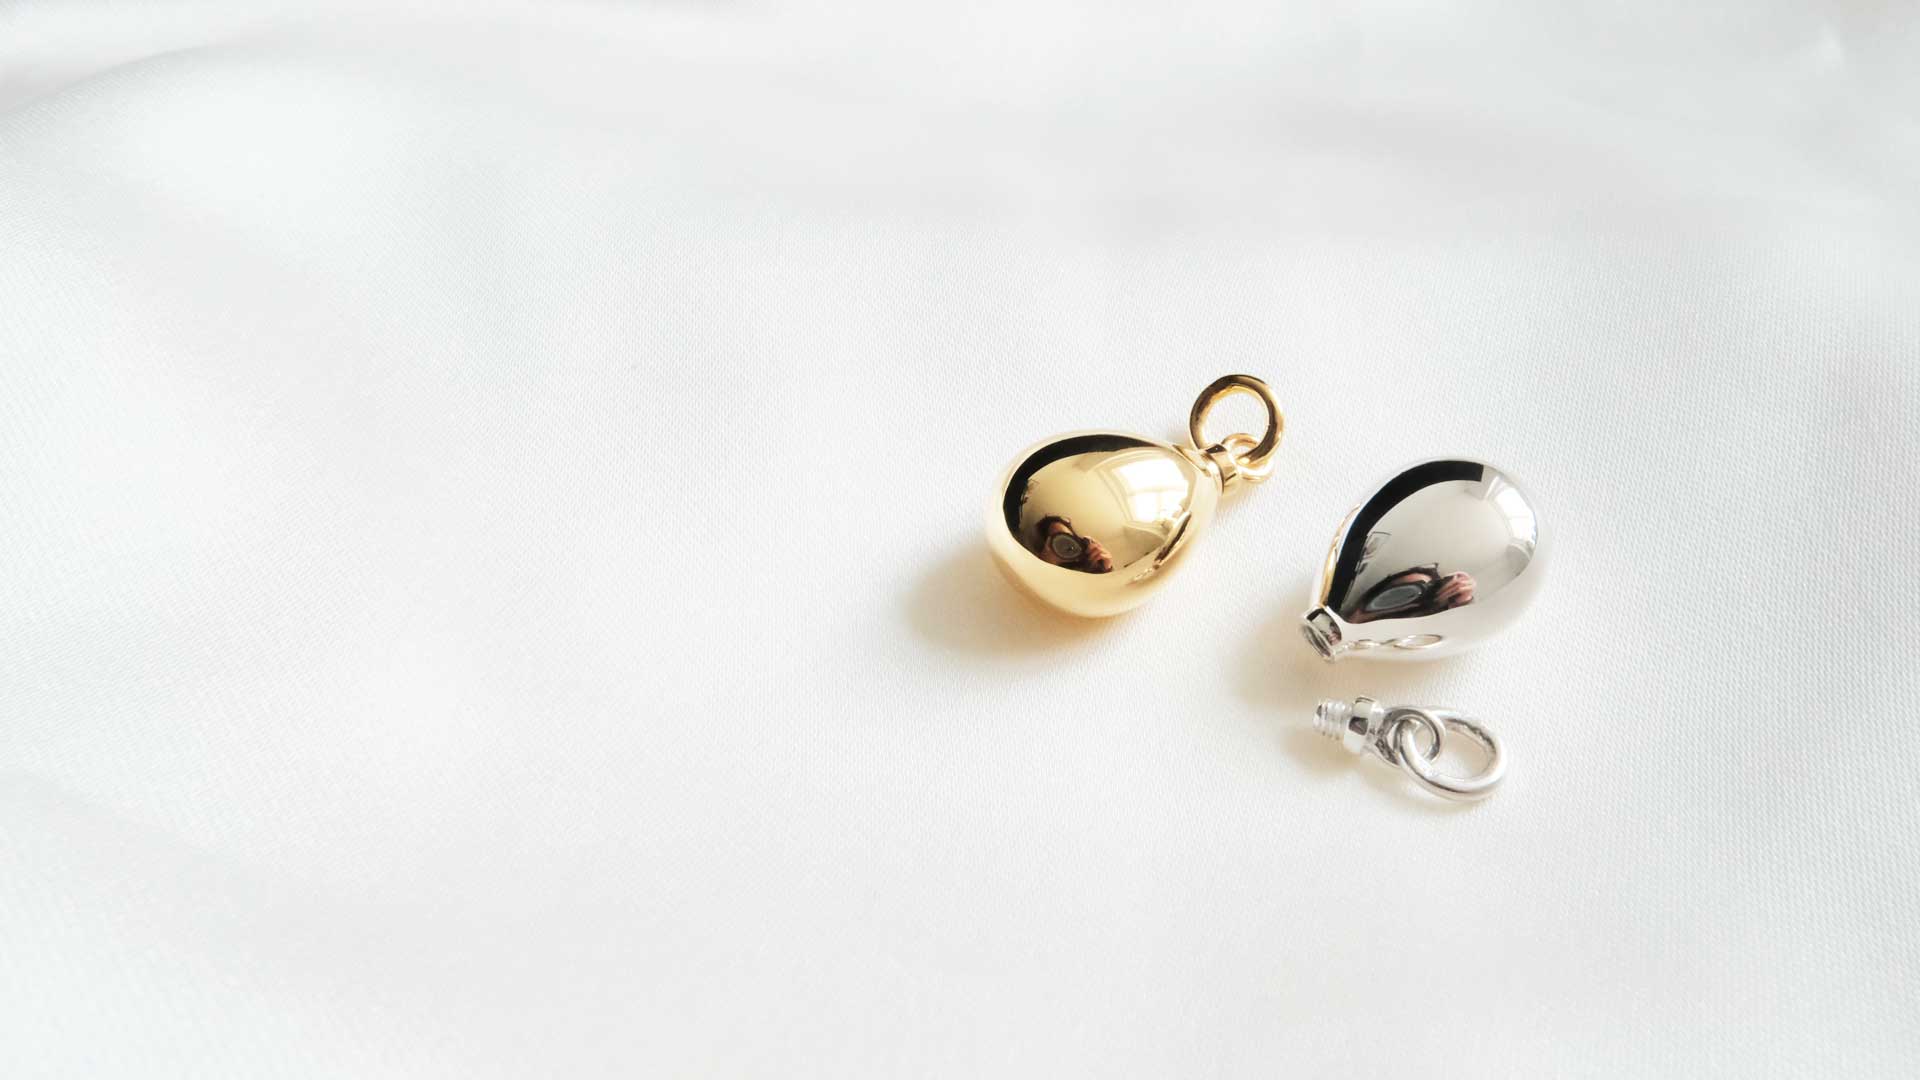
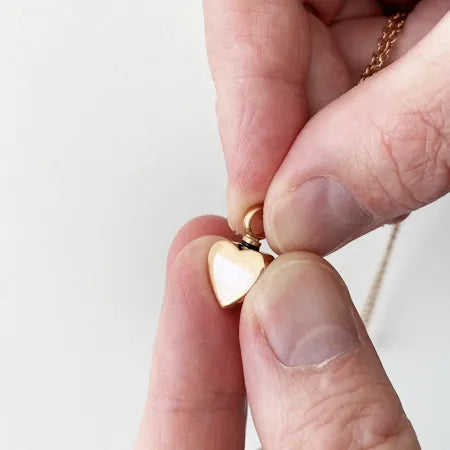
If your jewelry has a bail screw, ensure the eyelet opening is not facing forward, as this can cause the pendant to hang unevenly and twist.
The eyelet should be positioned sideways, as shown in the second illustration.
If you wish to create a permanent seal, please take your pendant to your local jeweller for professional assistance.